
You have an input field that displays the Name of an Item in your database. You want your user to be able to update it, so you create a workflow.
Is there a way to auto-update a field without using a workflow?
In this tutorial, we'll learn how we can allow auto-binding in our Bubble apps.
What is auto-binding?
Auto-binding is a feature that lets you modify and update a field in your Bubble database without using a workflow. It allows you to reduce the number of workflows in your app and make the UX better for your user.
If an input is set to auto-bind a field, the target field's value is updated when the user updates the value and presses enter or clicks anywhere else.
You will need to set up privacy rules for aut0-binding to work. And also give the parent group of the input a Type of content.
Why use auto-binding in Bubble?
Auto-binding is useful when you don't want the user to start a workflow by clicking on a button or you cannot have the user click on a button.
Say you have a repeating group that displays a list of Employees. The Admin should be able to update Employee Position by editing the input field in the repeating group.
How to configure the input element
- Give the parent group of the input element a Type of Content and a Data source.
- Enable Auto-binding on the Parent element's thing.
- Create Privacy rules for the data type you want to update.
- Create an alert message to let the user know that field has been updated.
Assigning a Type of content
We have two input fields on the page - an input element for the Name and a dropdown for the Country Option set.
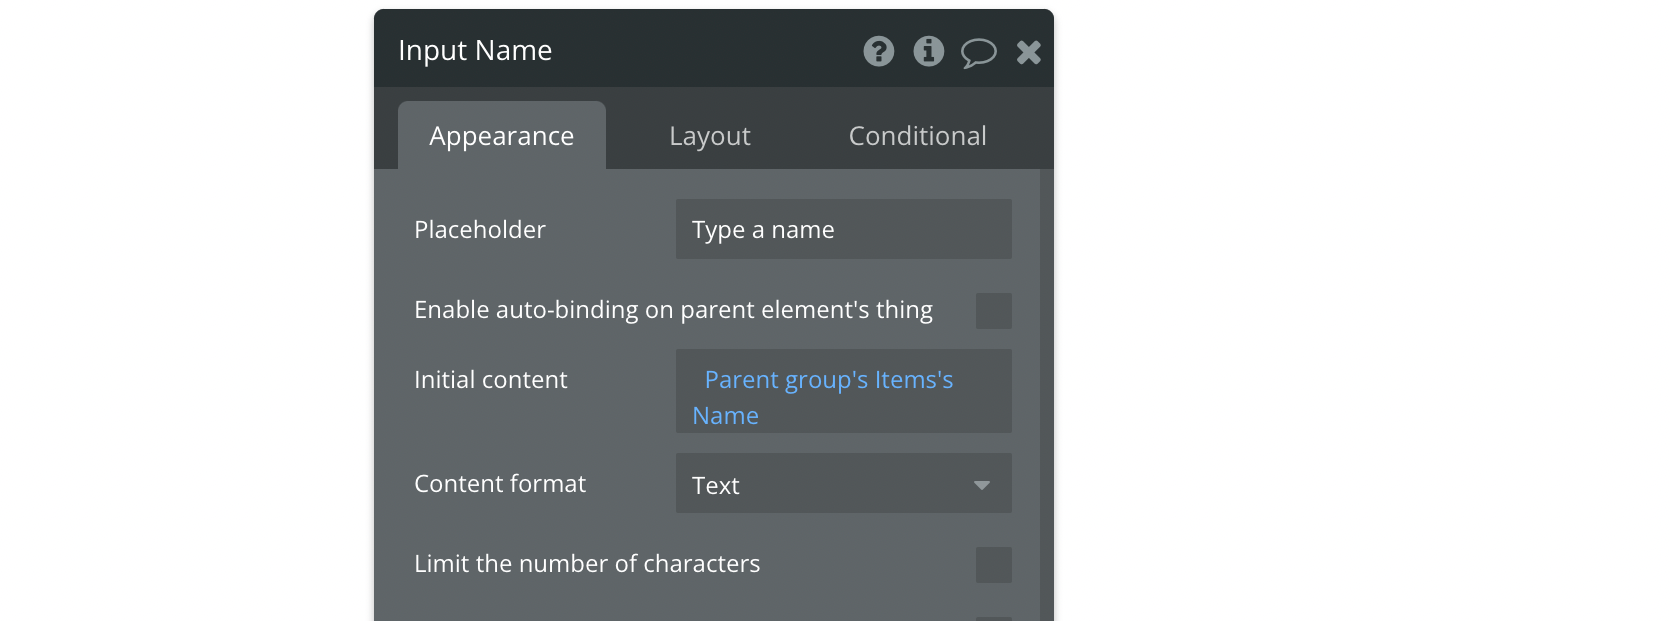
If Auto-binding hadn't been used, the input element's configuration would have been like this.
To enable auto-binding, we will begin by assigning a 'Type of content' to the parent group of the input element. The field's data type is Item, so we can put the Type of content as Item. You can configure the data source as per your application, but I have set it as the first Item record for this tutorial.
Enable Auto-binding on the input
The next step is to enable autobinding. We need to check the 'Enable auto-binding on the parent element's thing' checkbox to do this.
Bubble will give you an option to select a 'Field to modify'. We will choose our option from this list.
Configuring the Privacy rules
Privacy rules are a way to restrict access to the database using specific rules.
An everyday use case is for users to be able to view only the information created by them. Another example is to restrict a company only to view their customers.
They are applied server-side, so only the permitted data is downloaded to your user's browser. To use auto-binding, we need to grant permissions to our users to auto-update their data.
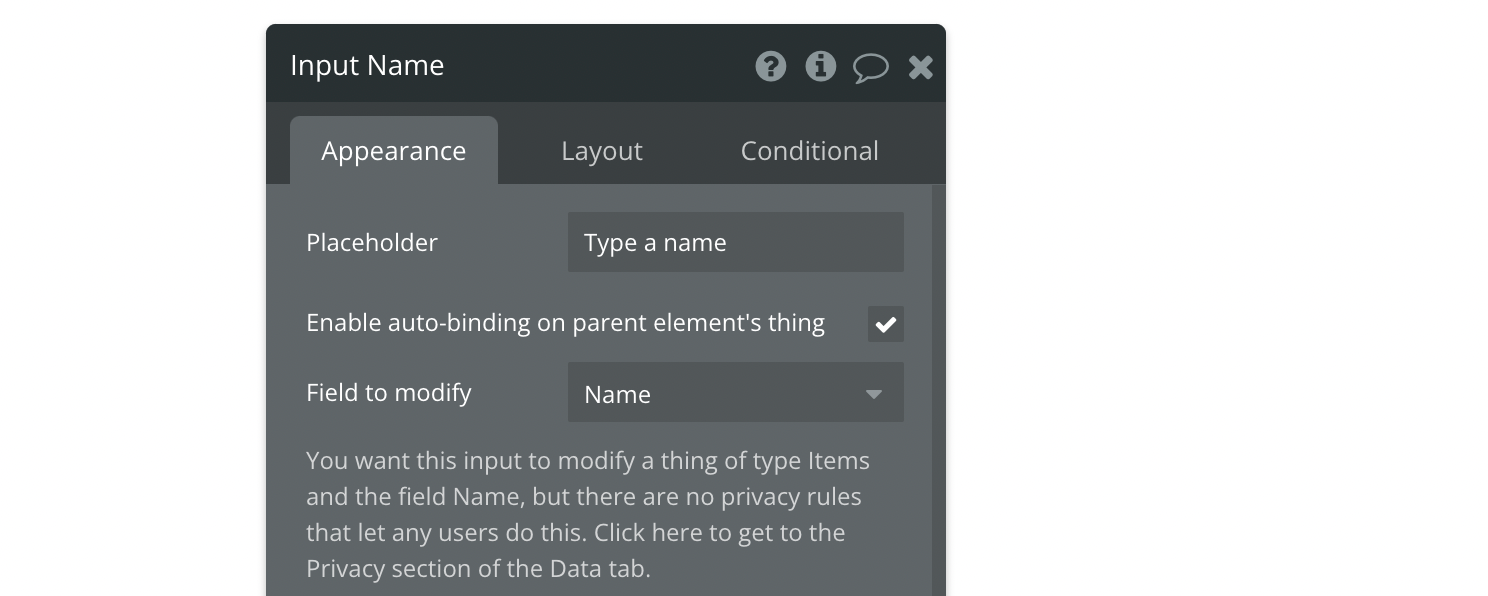
When you enable auto-binding, Bubble will alert you that you need to define the Privacy rules to allow your users to auto-update this field.
Go to the Privacy section in the Data tab of your Bubble app.
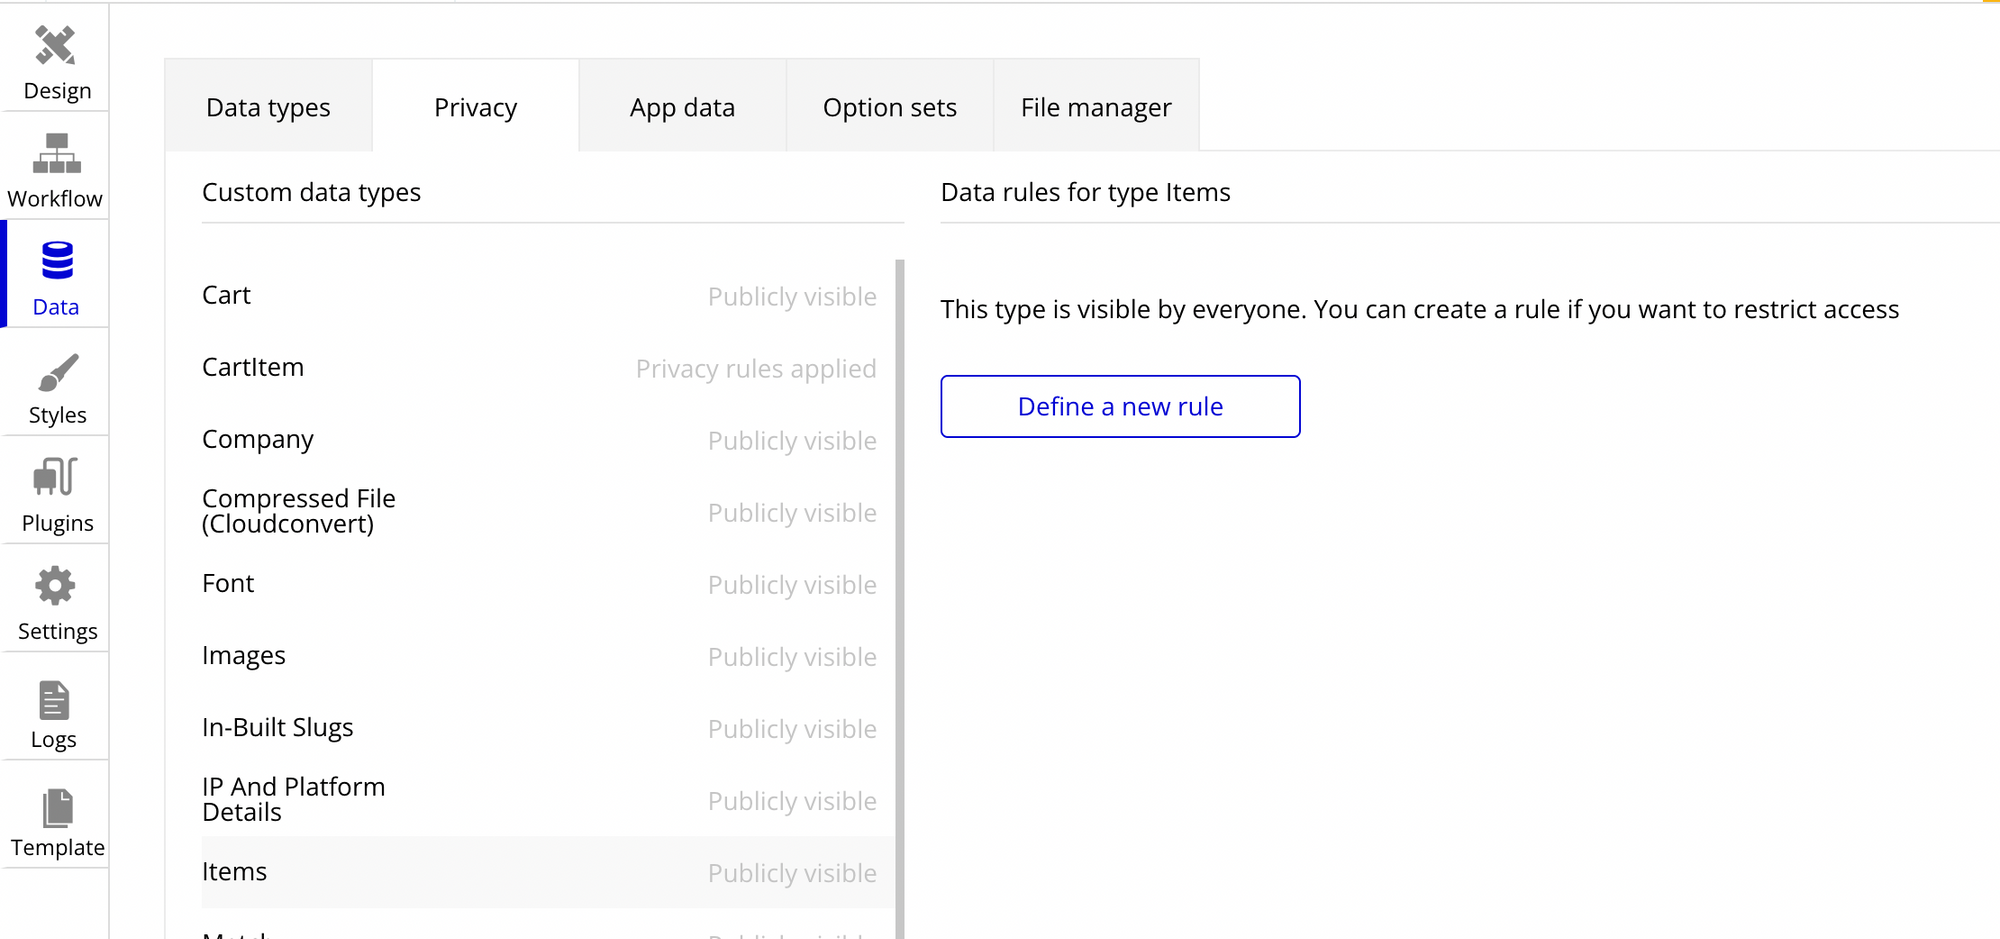
Choose the relevant data type and click on define a new role. Give a name to this role and click Create.
We now need to define the rule.
If we want to grant auto-binding privilege to only the Item creator, we can define the rule as below.
You can define the rule according to your use case. It is simple business logic. And finally, check the 'Allow auto-binding' checkbox for this rule.
Creating an alert message
The alert message will disappear now that you've created the privacy rules.
All that is left is to show the user a success message that the field has been updated. Drag and place a new alert element on your editor. Style and position it to your liking.
Check the 'Show an alert on success' checkbox. Choose the alert element that you just created.
Repeat the same for all the other inputs fields.
That's it. You now have input fields with auto-binding.
Editor - https://bubble.io/page?type=page&name=auto-binding&id=nocodeassistant-tutorials&tab=tabs-1
Preview - https://nocodeassistant-tutorials.bubbleapps.io/version-test/auto-binding
 Himanshu Sharma
If you need some help with your Bubble app or a team of Bubble developers to build a Bubble app for you, reach out to me at [email protected]. You can also follow me on Twitter.

Join the conversation.