

If you're starting on Bubble, one of the first things you'll notice is the Groups in the Containers category. But what are these elements, and why do they matter? In this article, we'll delve into everything you need to know about Groups, discussing each type in-depth.
What are Groups in Bubble?
Let me break it down for you in simple terms. In Bubble, elements refer to everything you place on your app canvas — texts, buttons, images.
Groups function as containers for all these elements, making organising and managing them more manageable. Think of it as a virtual basket that keeps all your goodies in one place!
Groups can contain other elements
Think of Groups as parents and every element inside of them as children. It makes editing your Bubble app much easier since you can move, copy/paste, or delete all elements in a group in one go.
You can even nest groups inside of other groups, creating a hierarchy that makes it easy to navigate and identify different parts of your app.
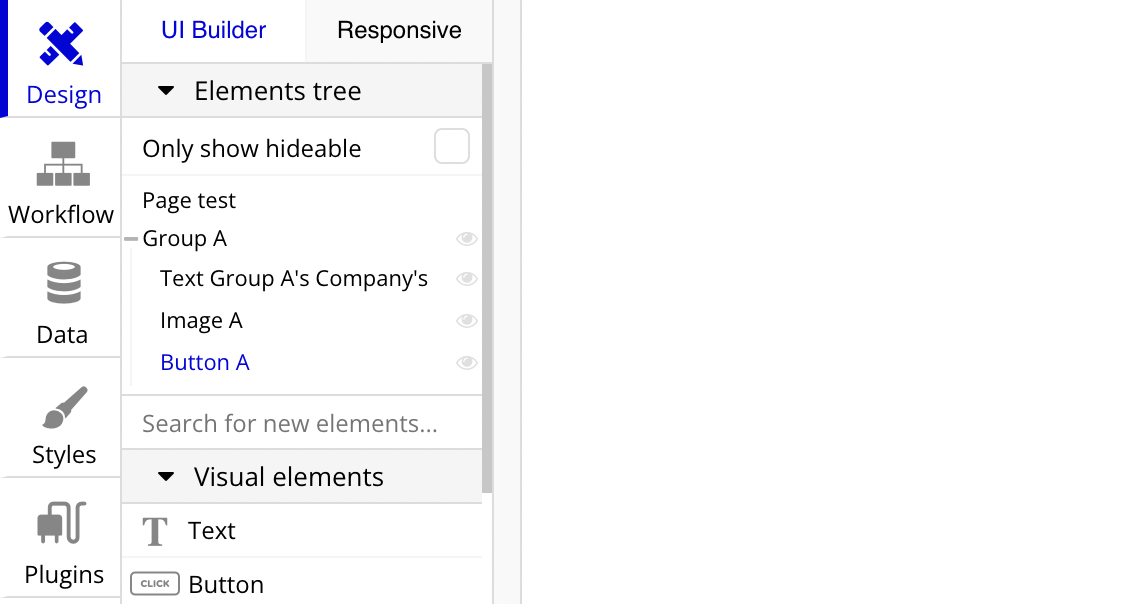
Groups are also handy to organise your Element tree. For example, you can name a group "Edit User" and see that it contains input elements for first and last names. And if you want to hide any elements (including children) in the editor, click the eye symbol.
Groups can hold data
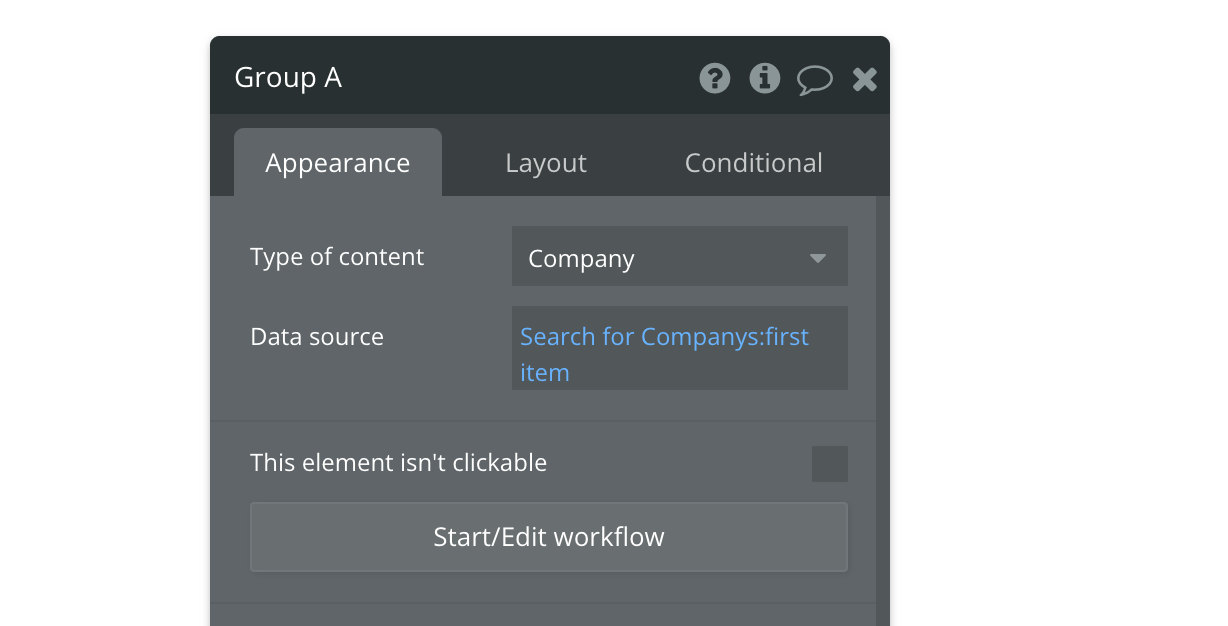
Picture this: You're setting up a form where users can update their Company name and address. You can create a group with the data type "Company" to simplify things. This way, all elements within the group will reference that particular Company record.
Are you still feeling confused?
Let's say you have a text field in the group. You can set the dynamic value of the text as Group A's Company's name. But which Company are we talking about?
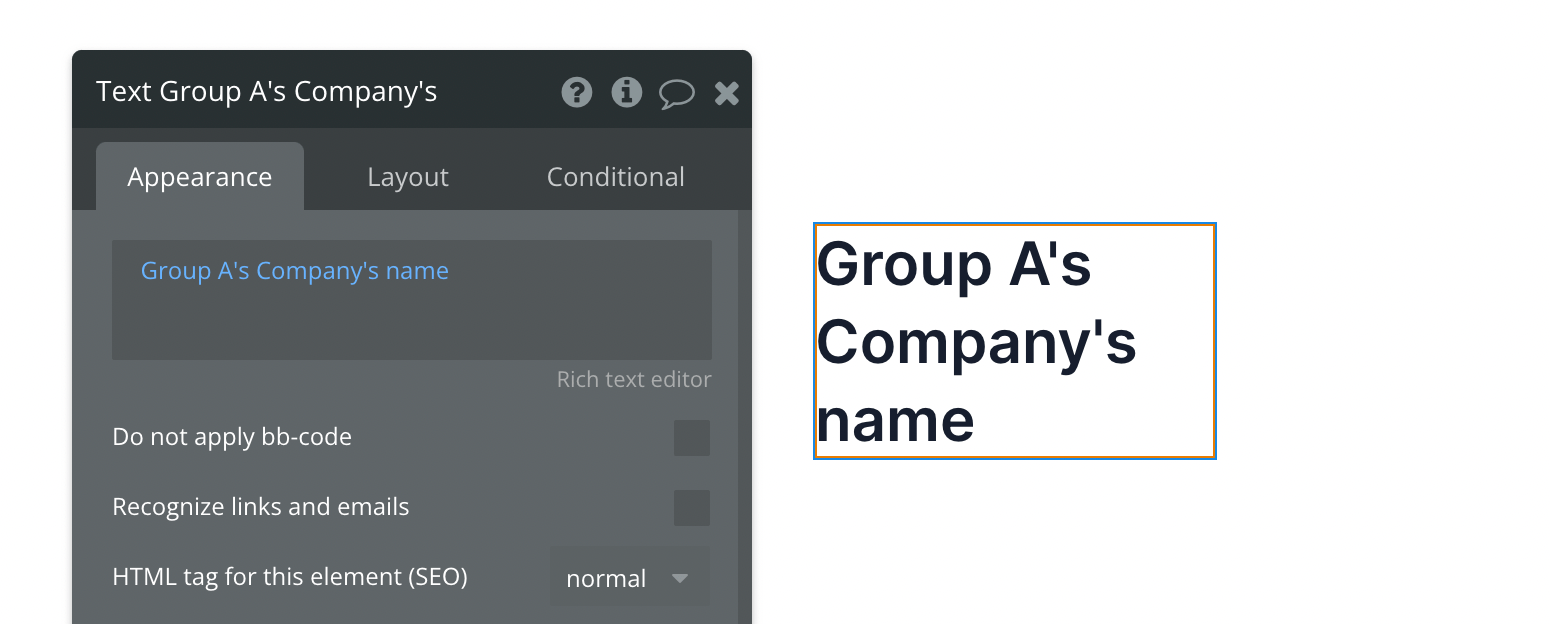
This is where the Group comes in. We can tell Bubble we want Group A to hold a Company value. You can then reference this value.
As Group A holds a Company value, we can pass the value on to all the Group's child elements.
It is the quickest way to instruct Bubble on which Company to work on. In the example above, we're fetching the name of the Company loaded into the Group – which we defined in the last step.
You can store any kind of data in a Group – text, number, data type, expression or Option set.
Types of Groups in Bubble
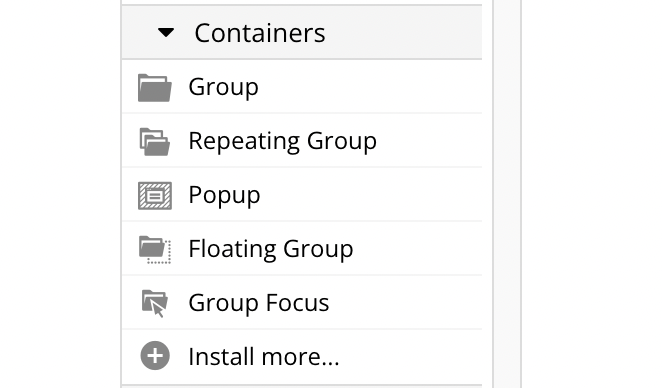
There are 5 types of groups in Bubble — Group, Repeating Group, Floating Group, Focus Group and Popup.
Groups
The first type of container is a Group. It is simply a container to organise elements and store data.
You can place a group directly on a page, inside another group or even inside the other containers (floating group, popups etc.).
1. Using Groups for responsive design
You can use Groups in Bubble to group different elements together and have them all behave and move together.
You'll save the effort of applying the same responsive settings on the child elements by applying the settings to the parent group — margins, padding, min-width etc.
2. Using Groups to store data
As explained above in the example, you can fetch and store a record's value in the Group. As a Group is a singular element and doesn't repeat, you can only keep 1 value in the Group. You'll need to use a Repeating Group to hold more than one value.
3. Using Groups to hide/show elements conditionally
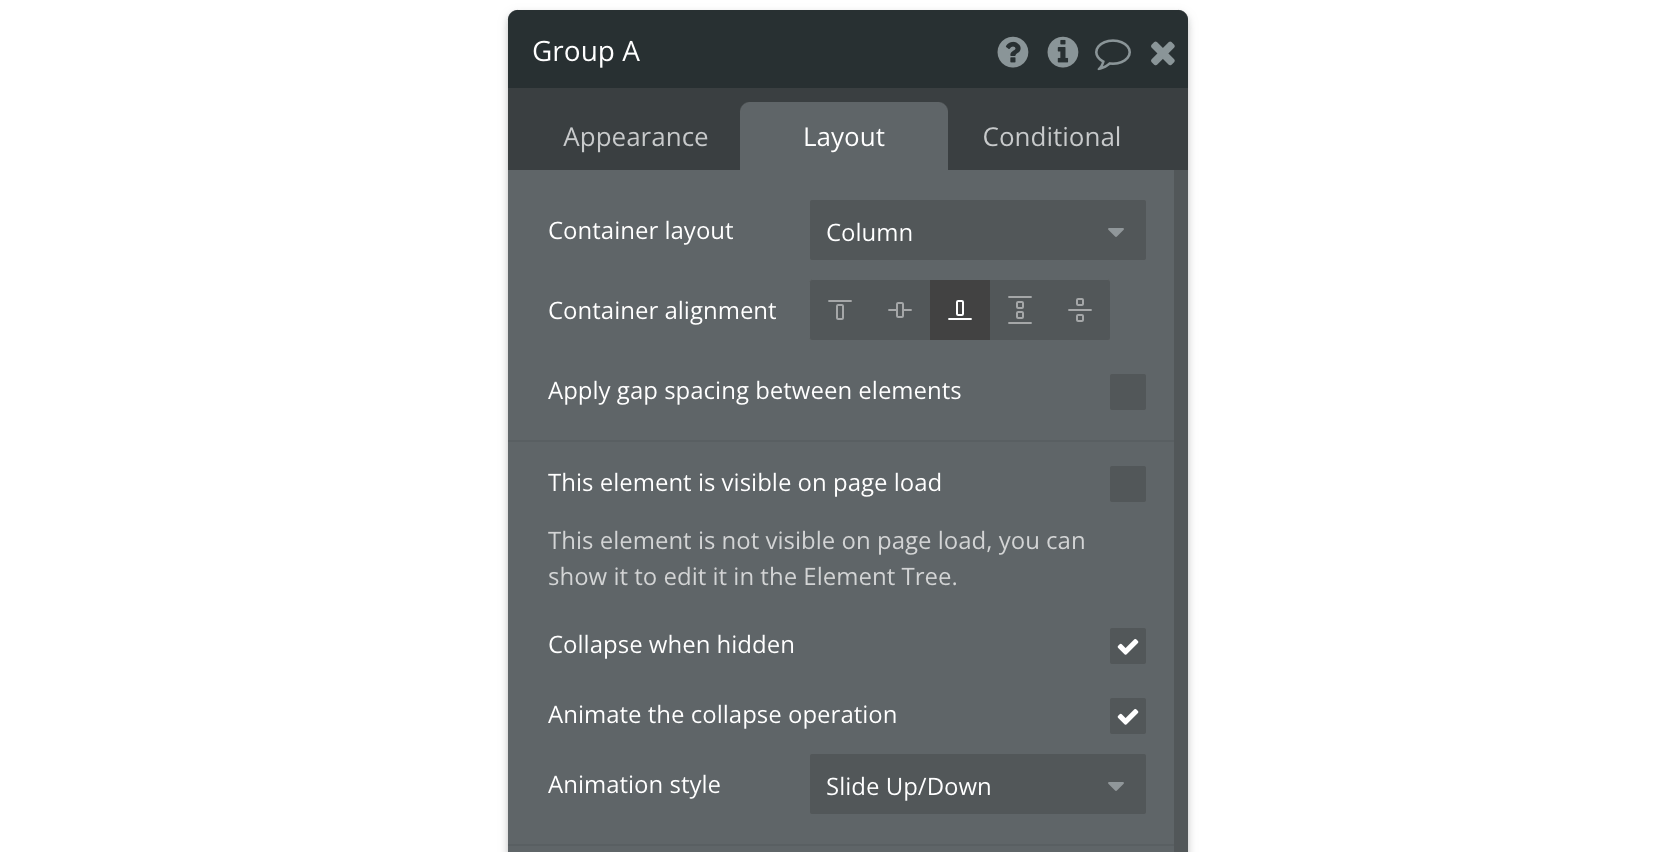
There can be cases where you want to display only certain sections depending on some conditions. In such a scenario, you can put the section in a collapsible group and show/hide it using conditionals.
4. Using Groups in SPA
A Single Page App relies on having the entire functionality on a single page. You can imagine the challenges of putting all the workflows on one page.
It is why an experienced Bubble developer will use reusable elements to build the SPA. They will put all the reusable elements in various collapsible groups and show/hide them. The height and width of the group will collapse to 0 pixels when it's not visible.
Repeating Groups
If you want to display a list of items in your Bubble app, Repeating Groups will help you get the job done. Unlike regular Groups that display information about one user or item, Repeating Groups can show a whole list of them neat and organised.
Here's how it works: you provide a list of items you want to display, and Bubble creates a row for each item. Each row is a cell of the Repeating Group, and you only need to design the first row. Bubble will handle the rest by repeating the elements you designed for each row.
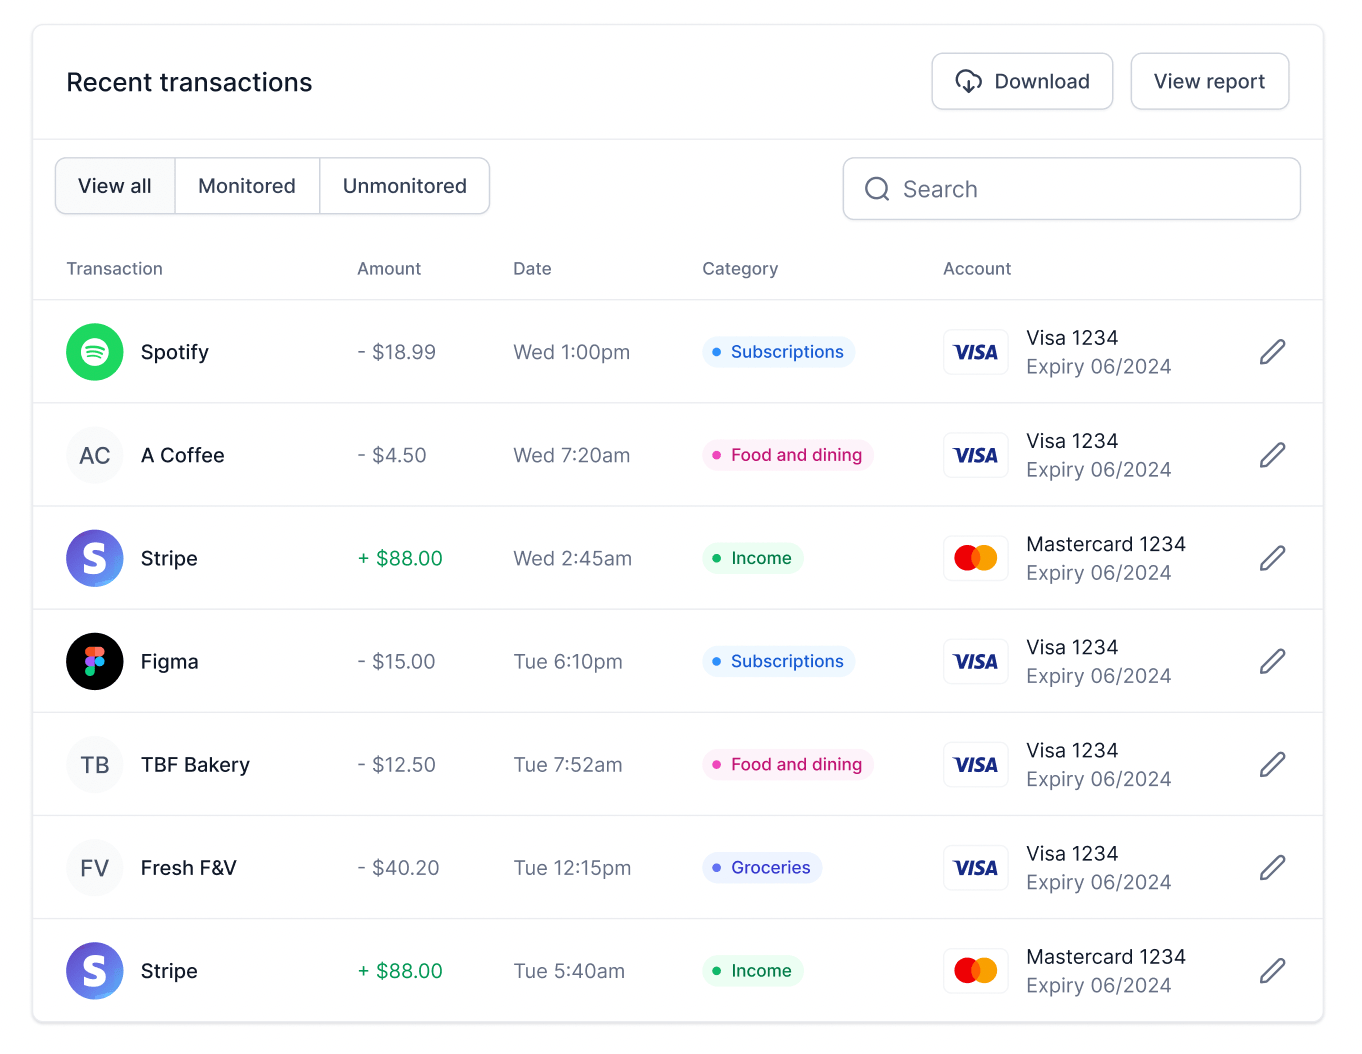
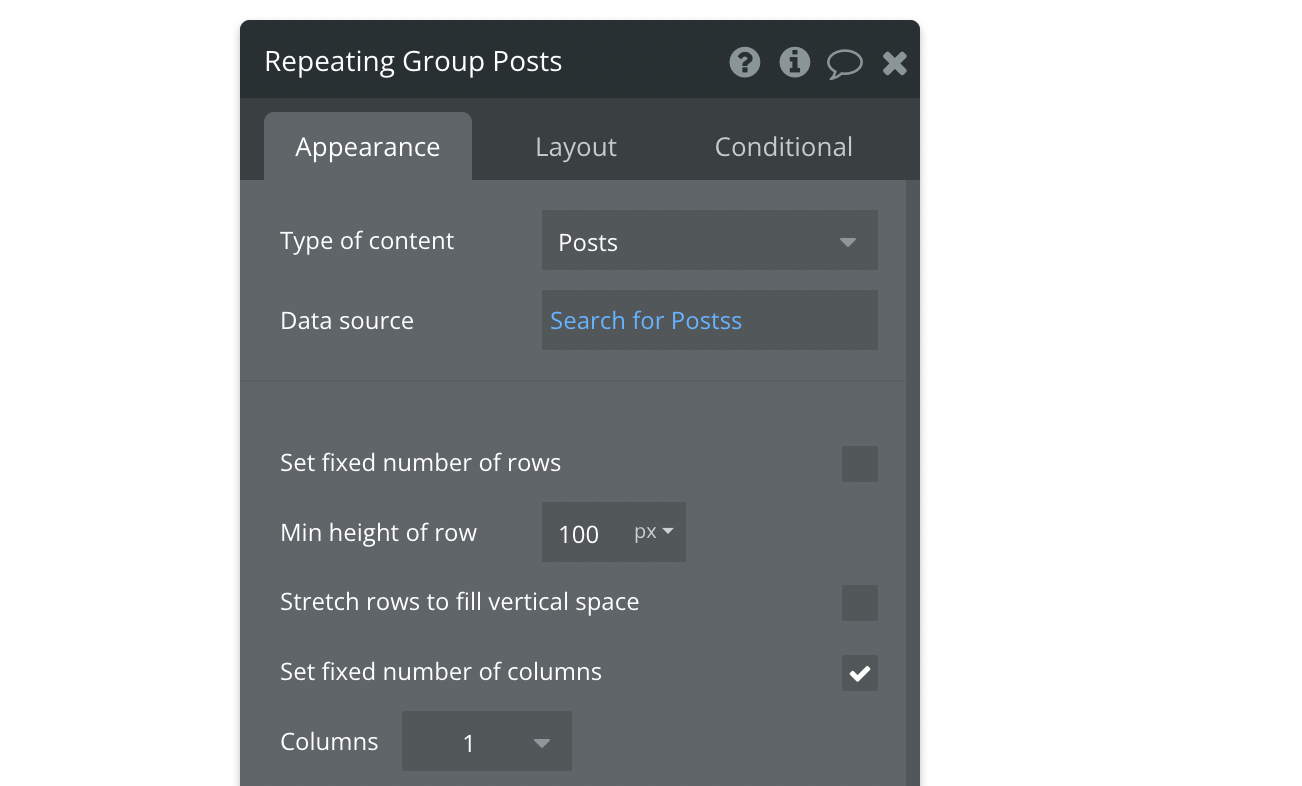
Imagine you're running a social media platform where users can post photos. You want to display all the photos in a grid-like format, each with a title and a brief description underneath. This is where Repeating Groups come in handy.
You can set the content type of the Repeating Group to Posts, and Bubble will automatically display all the Posts in the list. You only need to design the first cell with its title and description, and Bubble will repeat the design for each Post in the list.
Inside each cell of the Repeating Group, you can reference the specific photo from that row and display its corresponding title and description.
Repeating Groups make displaying all the photos neatly and organised easily without having to design each cell separately.
If fewer photos are in the list than the number of cells you've set in the settings, Bubble will display the available number of cells. If there are more photos, Bubble will keep loading them as the user scrolls.
1. Using Repeating Groups to store temporary data
Sometimes you can also use the Repeating Group to store temporary data. Let's say you're displaying a list of records in a Repeating Group, but you'd like to filter this output with another set of records.
We can create a hidden Repeating Group inside a Popup and filter our list.
Another use case is to fetch a list of records and reference the same list multiple times in our app.
2. Using Repeating Groups to improve loading time
A Repeating Group can also affect the load times of your application. The amount of data we want to display dictates the page load speed.
A large amount of data to be displayed means a slower page load speed.
So how does a Repeating Group help us? We can limit the data we show at any given time. Using pagination, we can display 10 records instead of 100 records. Or we can implement lazy loading to fetch new records as the user scrolls down, just like Instagram.
Popups
Popups are Groups that appear over all other elements on your page and are typically used to display messages or alerts to your users. But the beauty of Popups is that you can use them for a range of different purposes.
So, what makes Popups different from regular Groups? For starters, Popups are above other elements on the Z axis. In other words, if your screen were a 3D space, it would float above everything else.
This means they don't affect the layout of the rest of your app like Groups would. It makes them perfect for displaying alerts or messages you want to draw your users' attention to without messing up the rest of your app's design.
Another great thing about Popups is that they can be used to partially or wholly black out or blur the screen, only showing the content of the popup. It is a great way to focus your user's attention on specific information without distractions.
Of course, just like regular Groups, Popups can contain any data you want to be referenced by its child elements.
With their ability to draw attention to specific tasks or information, and their flexibility in terms of design, Popups are a must-have tool for any Bubble developer looking to take their app to the next level.
1. Creating hidden popups to store data
A neat trick many Bubble developers employ is to use a Popup to store frequently accessed data. You can create multiple Groups and Repeating Groups in the Popup and reference them in your application.
Let's say you have a Project Management tool. You can create a Repeating Group inside the Popup to store the list of Projects. Wherever you need to display the list of Projects, you can reference this Repeating Group. It will help you avoid creating multiple searches and make it easier to update the search in the future.
2. Reusable popup elements
Using a Popup to display alerts or messages is common in web development. You can convert the Popup into a separate, reusable element to make your app more efficient and reusable.
It allows you to easily place the Popup wherever it's needed in your Bubble app without having to duplicate the same Popup over and over again. Doing so can save time and reduce the risk of errors in your code.
3. Popups as a security measure
If you're a new Bubble developer, chances are you're using Popups as a security measure to hide access to your app or data.
Popups are not designed for security purposes and should not be relied upon to protect your app or data. Anyone with even basic technical skills can easily bypass them.
Instead, use authentication and authorisation techniques, such as user roles and permissions, to control your app and data access. These measures are much more effective and provide a more secure environment for your users and your app.
Floating Groups
Groups are great, but if you want an element of your app to stay on the screen even if the user scrolls, you need Floating Groups. You can lock Floating Groups to a specific screen part, such as the top, bottom, or side, and remain there no matter what.
One great example of using Floating Groups is a sidebar on a CRM. By locking the sidebar to the left corner of the screen with a Floating Group, the user can easily use the app and navigate the platform using the sidebar.
But the beauty of Floating Groups is that you can use them in all sorts of creative ways.
For example, you can freeze a Floating Group relative to the bottom right of the screen, as seen in the example below. We can use this to create a chat button that hovers near the edge of the screen, always visible to the user no matter where they are on the page.
1. Creating a menu with Floating Groups
We can create the sidebar shown above. We'll add a Floating Group with a defined max-width to the page. It will be our sidebar container. Within the Floating Group, we'll add the button, icons and text to serve as menu items.
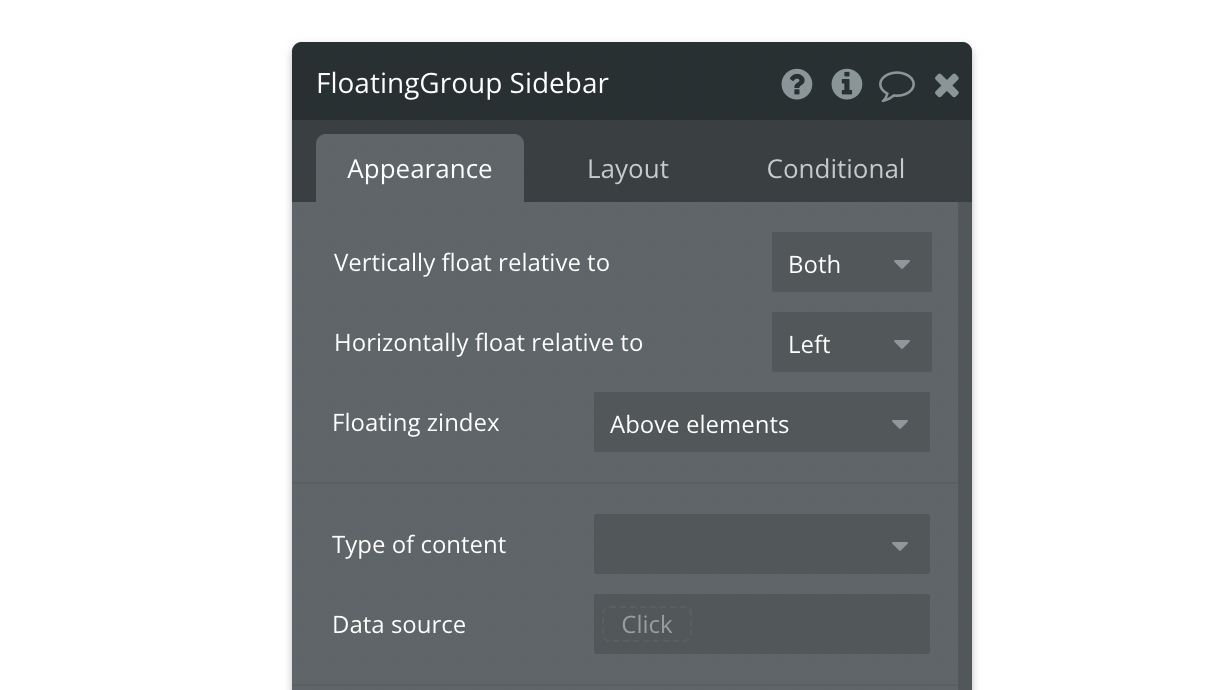
We will position the Floating Group to float vertically relative to Both and horizontally float relative to the Left.
2. Creating headers with Floating Groups
We can place a Floating Group similarly to create a sticky header at the top as the user scrolls down.
The Floating Group will float vertically relative to the Top and horizontally float relative to the Left. The only difference will be that we'll not constrain its width like the sidebar above.
Group Focus
The Group Focus behaves similarly to the Floating Group but has some differences.
First, it is positioned relative to another element on the page. Secondly, it will disappear/close when it is not in focus (you click anywhere outside the Group Focus).
Let's understand this behaviour. When we say it is positioned relative to another element, it means if the position of the selected element changes, the Group Focus also moves.
If, on the desktop version, the selected element is in the right corner, the Group Focus will be in the right corner (assuming it is not offset by too much).
And if the selected element is in the bottom left corner on the mobile version, the Group Focus will shift its position.
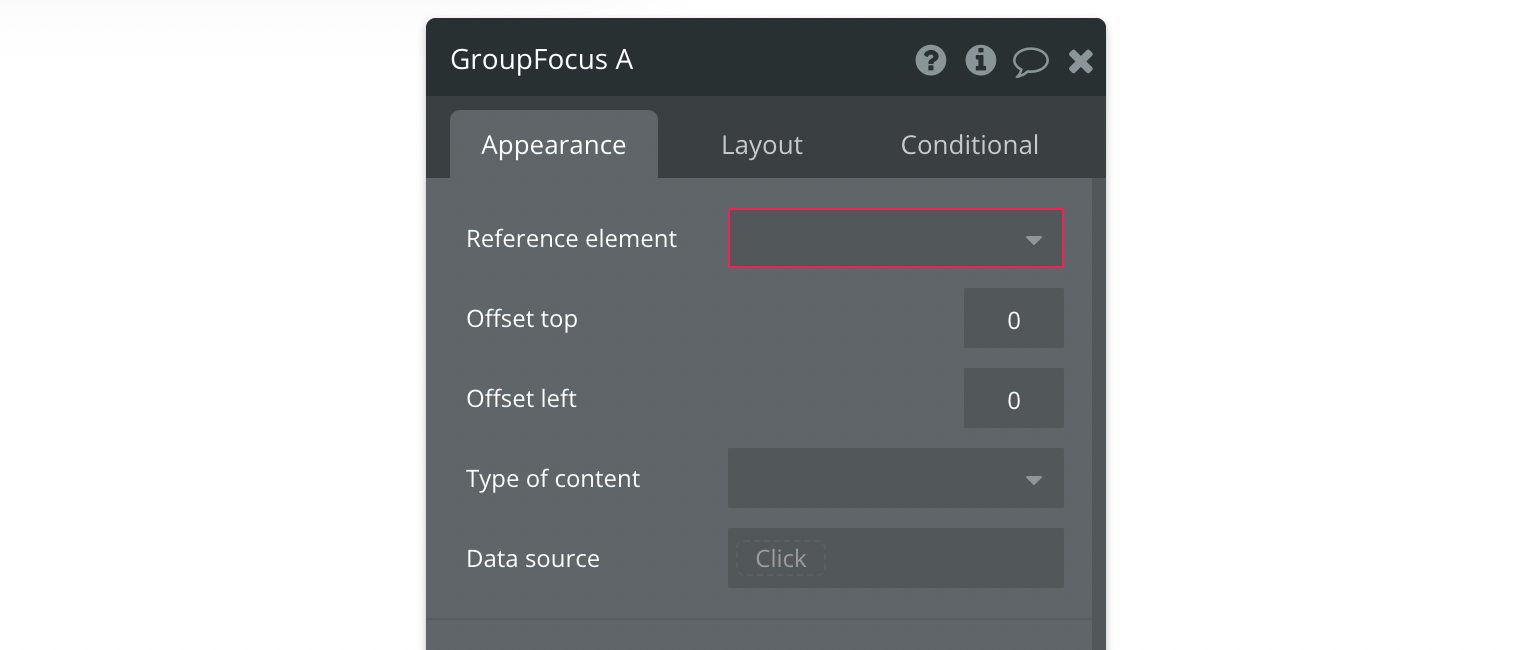
This is defined in the Group Focus settings, where we define the selected element. Once defined, we can change the offset to control its distance from the element.
However, one drawback is that Group Focus aren't responsive. They won't change their sizing and spacing based on the screen size. It can be a challenge in certain situations.
1. Creating a collapsible dropdown menu
Suppose you display the user's avatar in the top right corner as most platforms, and you want to show a dropdown menu to the users when they click the avatar.

You can't use collapsible Groups as they'll push the elements down when visible. Neither can you use a Popup as it'll be centred relative to the page. Your only option is a Group Focus.
You can create a new Group Focus and position it relative to the avatar.
How does the number of elements affect your app performance?
Remember that adding more elements to your page will slow down your app, including any groups you add. It's best to avoid adding unnecessary groups to keep the total number of elements low.
However, don't be afraid to use groups when necessary. Just don't go overboard and create groups within groups without good reason. Remember, less is often more.
I’d love to hear how you use Groups in your Bubble app. Let me know in the comments.


Join the conversation.